Sunday, August 4, 2013

Basketry


Basketry Workshops


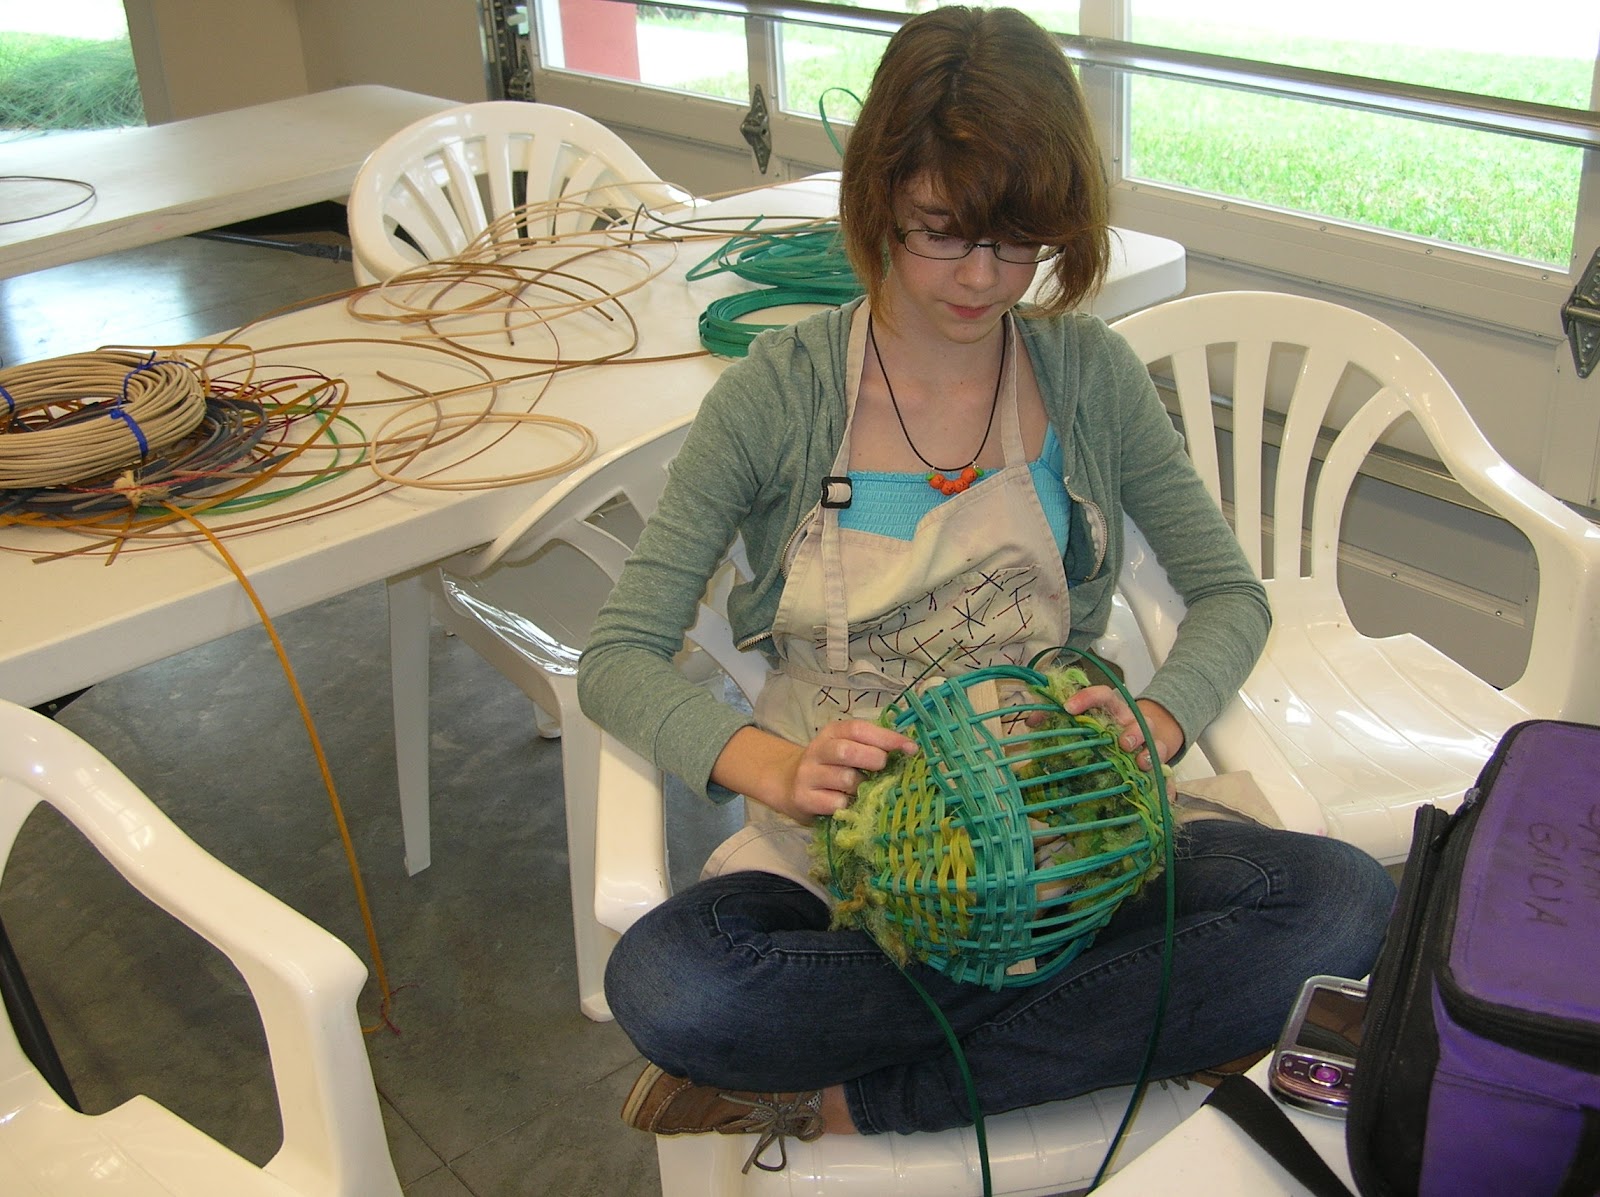
Some pictures of past workshops.

My next classes will be held at the Dunedin Fine Art Center on Feb 22 and April 5 2014
Here's the link if you would like to join us Enroll


Friday, June 8, 2012

A White Blouse


A White Blouse


I started with a white cotton blouse  from a thrift shop that cost 59 cents. I used a glass jar to heat with alum mordant for several days in the sun.  Then did the same with a tannic acid mordant derived from pomegranate skins.


 After the pomegranate mordant dyed the blouse this golden yellow, I inserted and tied in pennies.  Then I scrunched the blouse and returned it to the jar for a week, this time in a solution with cochineal bugs.


The photo does not show this well, but the areas around the pennies turned several shades of green to chartreuse.


Hmmm... still needed something, so on Easter day, I picked some red hibiscus flowers, tomato vine and thistle leaves, and I pounded them into the fabric with a hammer.

Wow! I got this blue from red hibiscus flowers.  So we'll see what happens after exposed to light for several months.


Today on June 8, the color still looks good.  I'm especially happy that the blue from the hibiscus is still very blue, and the tomato leaf prints stayed quite green although the thistle leaf prints turned to a mustard color.

Friday, February 3, 2012

Dyed Basket Reed

I really need the sun to come out and dry this freshly dyed reed for tomorrrow's workshop at Dunedin Fine Arts Center!

And this is how I dye basket reed:

Materials:
1 hank reed
Procion MX Dyes
 soda ash
iodine free salt 
rubber gloves
old clothes and apron,
dust mask plastic bucket,
 utensils for mixing that are only used for dying
1.       Loosen the ties on the reed
2.        Soak reed in  in enough water to cover the reed for an hour or so ( use a rock or brick to keep the reed from floating)
3.       Dissolve 1 cup of iodine free salt in about 2 cups hot of water add to soaking reed. Mix well
4.       Dissolve 2-4 tablespoons of dye powder in a small amount of water. Mix  thoroughly, then add to soaking reed. Mix well. (Wear your dust mask during this step!)
5.       Let the dye bath soak 2-24 hours, depending on the color intensity desired.
6.       To fix the dye, dissolve 9 table spoons of soda ash in to 2 cups of hot water add  to the dye bath and mix well.  Let the reed soak in the activated dye bath for 24 hours.  (the temperature outside should be above  75 F
7.       Pour off the dye bath, and and you may rinse now the reed several times until the water runs clear.  However, I feel I get better results by also heat setting.
8.   To heat set  (after completing steps1-6) pour off dye bath and place  reed into black plastic bags and place in a sunny spot out doors for a day or two then rinse until the water runs clear.  I have found that dyes will eventually stop bleeding when rinsed enough and are very permanent light fast.  However, this may take a lot of rinsing since not all of the dye bonds completely with the reed.

Monday, November 21, 2011

Ice Dyeing


This technique of dying fabric yields most spectacular results, yet it is so simple and there is very little labor invested.  The hard part is waiting to see the magic!

Ice dyed cotton sheeting

Here’s how:
Material List:
Silk, wool, cotton, linen or any other natural cellulose or protein (animal) fabric
A supply of two or more colors of procion fiber reactive dyes
Soda ash
1 lg plastic storage bin or box of some type
1 shallow plastic container such as a dish pan
Any type of metal or plastic rack that will cover the top of the small container
Rubber gloves
Dust mask
Apron or very old clothes

Do this outside!

1.   Soak you fabric in a solution of ½ cup soda ash(used for raising ph from the pool supply venders)
2.       Set  up some type of  container  with a rack on top (I’ve used plastic food storage containers with cheap cooling racks purchased at the Dollar Tree)  Put it inside some type of box to use as a baffle to prevent dye powder from  being carried by  drafts . (Here I’ve used a lg plastic storage bin.)


1.   Soak you fabric in a solution of ½ cup soda ash(used for raising ph from the pool supply venders)
2.       Set  up some type of  container  with a rack on top (I’ve used plastic food storage containers with cheap cooling racks purchased at the Dollar Tree)  Put it inside some type of box to use as a baffle to prevent dye powder from  being carried by  drafts . (Here I’ve used a lg plastic storage bin.)


4.       Pile ice on top of the fabric.


5.       Sprinkle dye powders on top of the ice.  (Wear your rubber gloves and A DUST MASK!)


6.   Leave it and let the ice melt.  You may want to cover the whole thing with a drop cloth, or a plastic to keep out pets or wild life. 


7.   After the ice has melted, I like to keep covered and let it cure for 24 hrs for the best results.    

8.    Put on your rubber gloves rinse the cloth then launder and line dry or dry in your dryer.


9.   Admire your "work!"


On silk


Sunday, November 20, 2011

Shibori and Silk "Painting" workshop at Dunedin Fine Arts Center


During this day long work shop we experiment with alternative silk painting techniques and take "creative license" with the ancient Japanese art of shibori while creating beautiful large and luxurious silk scarves. This is a great way to create beautiful gifts and treat yourself as well.


Do you think  Michele  has a knack for color?


Tamara's are warm and spicy yet elegant, don't you think? 


Pat and Carol seem to be having "too much fun"


Yet look at what the two of them accomplished!.


They even had time to try some ice dying.

More workshop pictures:


 For dates of our next workshp
contact Dunedin Fine Arts Center dfac.org